
PolyGel Nails DIY – Poly Gel Nails Applying Step by Step Tips
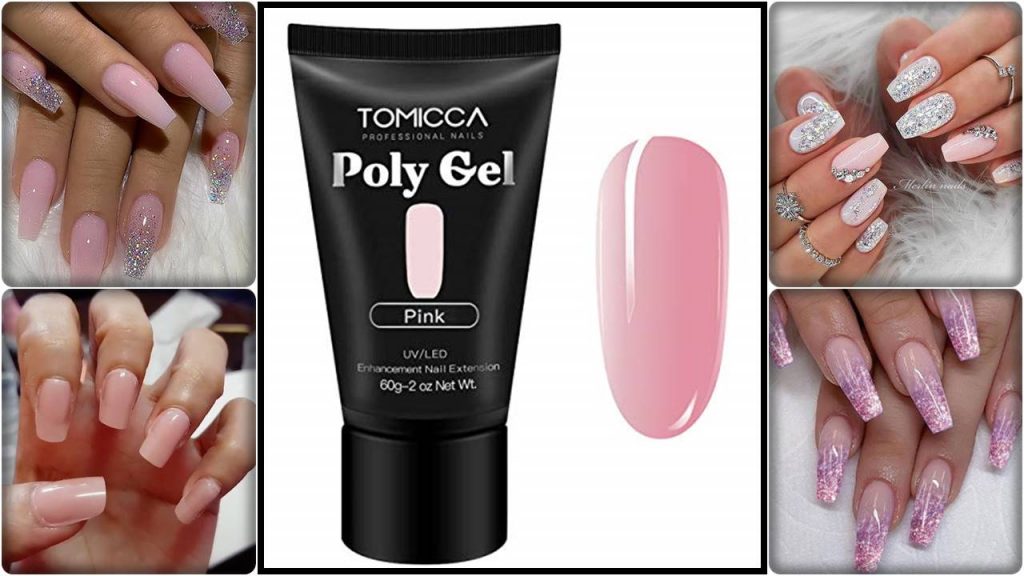
PolyGel Nails is a breakthrough nail enhancement that can be applied as an overlay or used to sculpt a full set of nails. The enhancement formula delivers strong, flexible, feather-light nails that nail technicians and clients can count on. Once applied, PolyGel nails are astonishingly light on clients and stronger than hard gels. If you do not know how to apply this, don’t worry about it. In this blog, I will share with you step by step tips for applying poly gel at home-
- How Can You Get Stronger, Longer Nails in One Week?
- Ingrown Toenail: Symptoms & How to Get rid of Naturally
- How To Remove / Take Off Super Glue From Fake Nails | The Easy Way
How To Apply PolyGel Nails In 5 Minutes!
Today we will talk about how to do poly-gel nails at home.
Softly push back the cuticle of every single nail. And Make Sure don’t do it hardly.
Scrape off any dead tissue with the pointed end of the cuticle pusher.
file the nail lightly with a nail file until the shine is removed.
Remove any oils and bacteria from nails by using rubbing alcohol.
Next, you need to apply a base coat to your nails. This will help the poly gel grip to your natural nail thus leading to a longer-lasting effect.
Once you apply the base coat to your nail you will need to put it under the UV lamp to dry.
When you are placing on your dual forms you want to fit all of them first and make sure they fit exactly. If by chance you get a dual form that is too small, even in the slightest bit then your poly gel nail will pop off prematurely.
When applying the gel to the dual form you can use the spatula and the brush in order to spread the gel evenly all over the nail.
Once you put on the dual form an optional step that I like to add is to put the clips on each nail to keep them in place and then place them in the UV lamp.
Once your nails are dry then pop off the dual forms and then shape the nail with a regular file that comes with the kit but this is where I have found the electronic file to be a lot easier and faster. Shape the nails from the side and from the top.
Conclusion-
Sothis was the step by step to apply gel nail polish at home I hope you like today blog
Also, like my blog and subscribe to it for new blog updates. Also, follow me on INSTAGRAM. for new updates.
THANK YOU FOR READING MY ARTICLE… LUV YOU AND BYEE