Water Marble nail art always attracts the attention of a girl, and it is because of this that they look so attractive. So why don’t you also try this nail art once? It’s effortless To do.
To be honest! When I tried it for the first time, it was not made properly. Because the nail polish was shrinking as soon as I put in water. When I read about it, I found out, that it’s important for nail polish to be of high quality for doing this nail art.
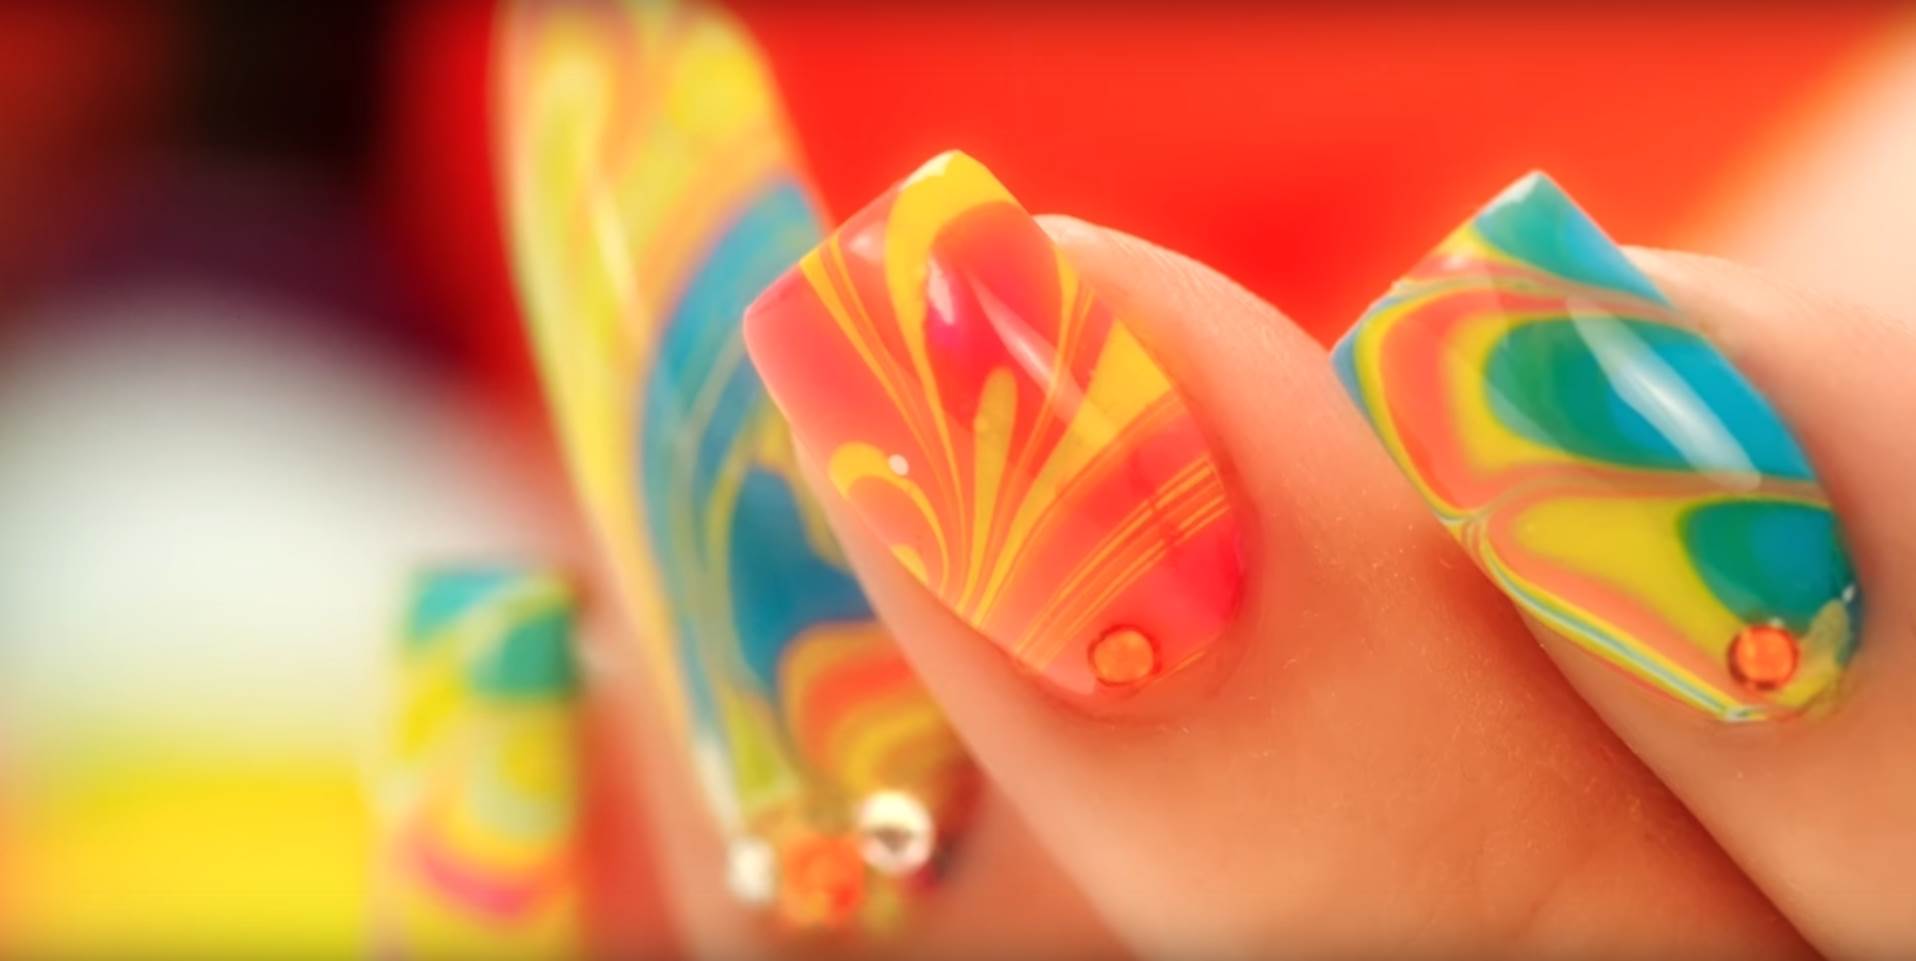
In today’s nail art tutorial, I will teach you, how to perfectly do the water marbling nail art perfectly. Paired with some bright and fun neon nail polishes, this water marble design is awesome for the summertime!
Water Marble Nail Art Step By Step-
In today’s blog, I’ll be showing you how to do Water Marble Nail Art. I know It looks really tricky, but it’s simple once you know how to do it! Marble nail art doesn’t take much.
One more thing, here I am going to show you 5 amazing step-by-step marble nail art pictures and I give all credits to the rightful owners who created these amazing designs.
1. DIY Water Marble Nail Art Red And White-
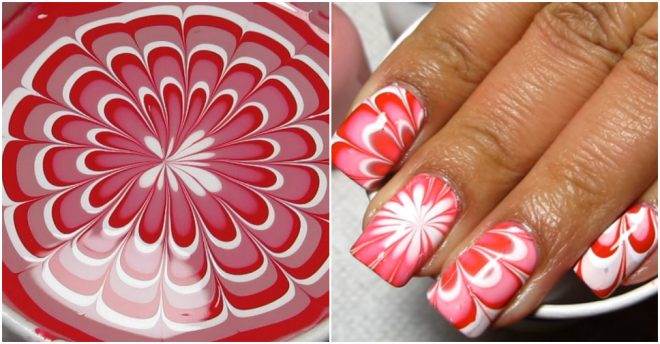
First Start out by cleaning your nails & prepping with a base coat.
Use Enigma as your base color.
Now Create a bullseye in the cup with all 3 colors.
Draw in the design with your tool.
Dip your nail into the design.
Clean the top of the water.
Slowly pull your nail out.
Remove tape.
Clean up around the edges.
Finish the design with a topcoat.
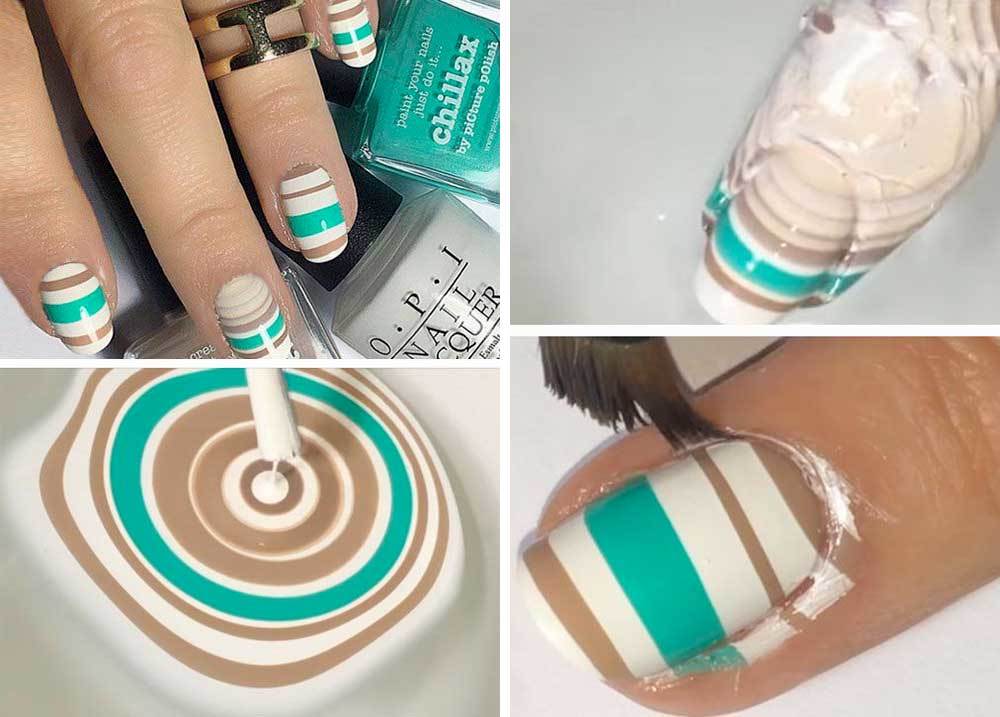
2. Groovy Marbled Nail Art Design-

All marble nail art has one thing in common is to dip nails into the water. But, this groovy style of marbled nail art is different.
In such a type, First created nail art and then dried and later cut into nail sizes to make them fit on one’s nails. You can also reuse it too.
You can see in the picture, Create a bullseye in the cup with all 3 colors.
Leave it for some time allowing it to completely dry.
Now, you can cut them up into pieces according to your nail sizes.
Before using them, you will have to give a white coat as a base coat.
Now, place your cut out designs on the nail.
Do this for all the nails and clean up the sides that emerge.
Finish the design with a topcoat.
3. Marble nail Art Step by Step With Picture-

As usual first start with cleaning your nails.
First Apply a white base coat and let him dry.
Now Start by dripping one nail polish at a time (see image below). Use 3 colors that match the base color.
Now With the help of the toothpick, make drawings with the enamels dipped into the water.
Dip your nail into the pattern and wait a few seconds.
Now Remove your nail from the bowl and apply an extra shine base coat.
4. Marble Flower Nail Art –

First Drop the green color in a plastic bag or metallic paper.
Put the next colors drop by drop right in the middle of the first layer.
With every next drop go on reducing the height of the drop.
Now With the help of a needle create a floral design as we do in water marble nails and let him dry.
Before using them, you will have to give a green coat as a base coat.
When the base is semi-wet, apply the decal over nails.
in the last, Press decal from sides to fix on nails and give finishing.
5. Water marble nail art-
Start out by cleaning your nails & prepping with a base coat.
Create a bullseye in the cup with all 3 colors.
Now Dip your nail into the pattern and wait a few seconds.
Finish the design with a topcoat.
POPULAR ARTICLES-
- 9 Types Of Nail Art Brushes And How To Use Them
- How to Fix A Broken Nails – 3 Ways to Fix a Broken Nails
- Fourth of July Nail Art Design Ideas And Manicure Art for 2020
- Cuticle Oil: How To Use it, DIY and Nail Growth Benefits
- Homemade Cuticle Oil With 3 Simple Steps | Cuticle Oil DIY
- 40 Easy Nail Art Designs for Beginners – Simple Nail Art Design
Conclusion:
So here are some easy step-by-step nail art designs. I hope you like these nails designs. It looks hard, but it is not. 🙂
That’s it for today. Thank you for reading my blog. If you Love Today’s blog don’t forget to like and share and also follow me on Instagram and Pin for new updates.
Thank You and have a great day!