Doing manicure at home is not easy to do as you think… But it also has many advantages. You will have difficulty going out in this lockdown. So in this situation, It’s beneficial to do manicure at home. Also! Whether you’re trying to save money or going to the salon is simply not an option. There’s never a bad time to master doing your own manicure at home. Not only is there a real satisfaction in painting your own nails, but it can also have therapeutic benefits.
Many Indian women still need to learn and appreciate the calming and de-stressing qualities of an hour-long manicure. Besides its therapeutic properties, regular manicures should be a part of every woman’s grooming routine. And if you can’t always afford to make it to the salon. We’ll teach you how to do a manicure at home naturally.
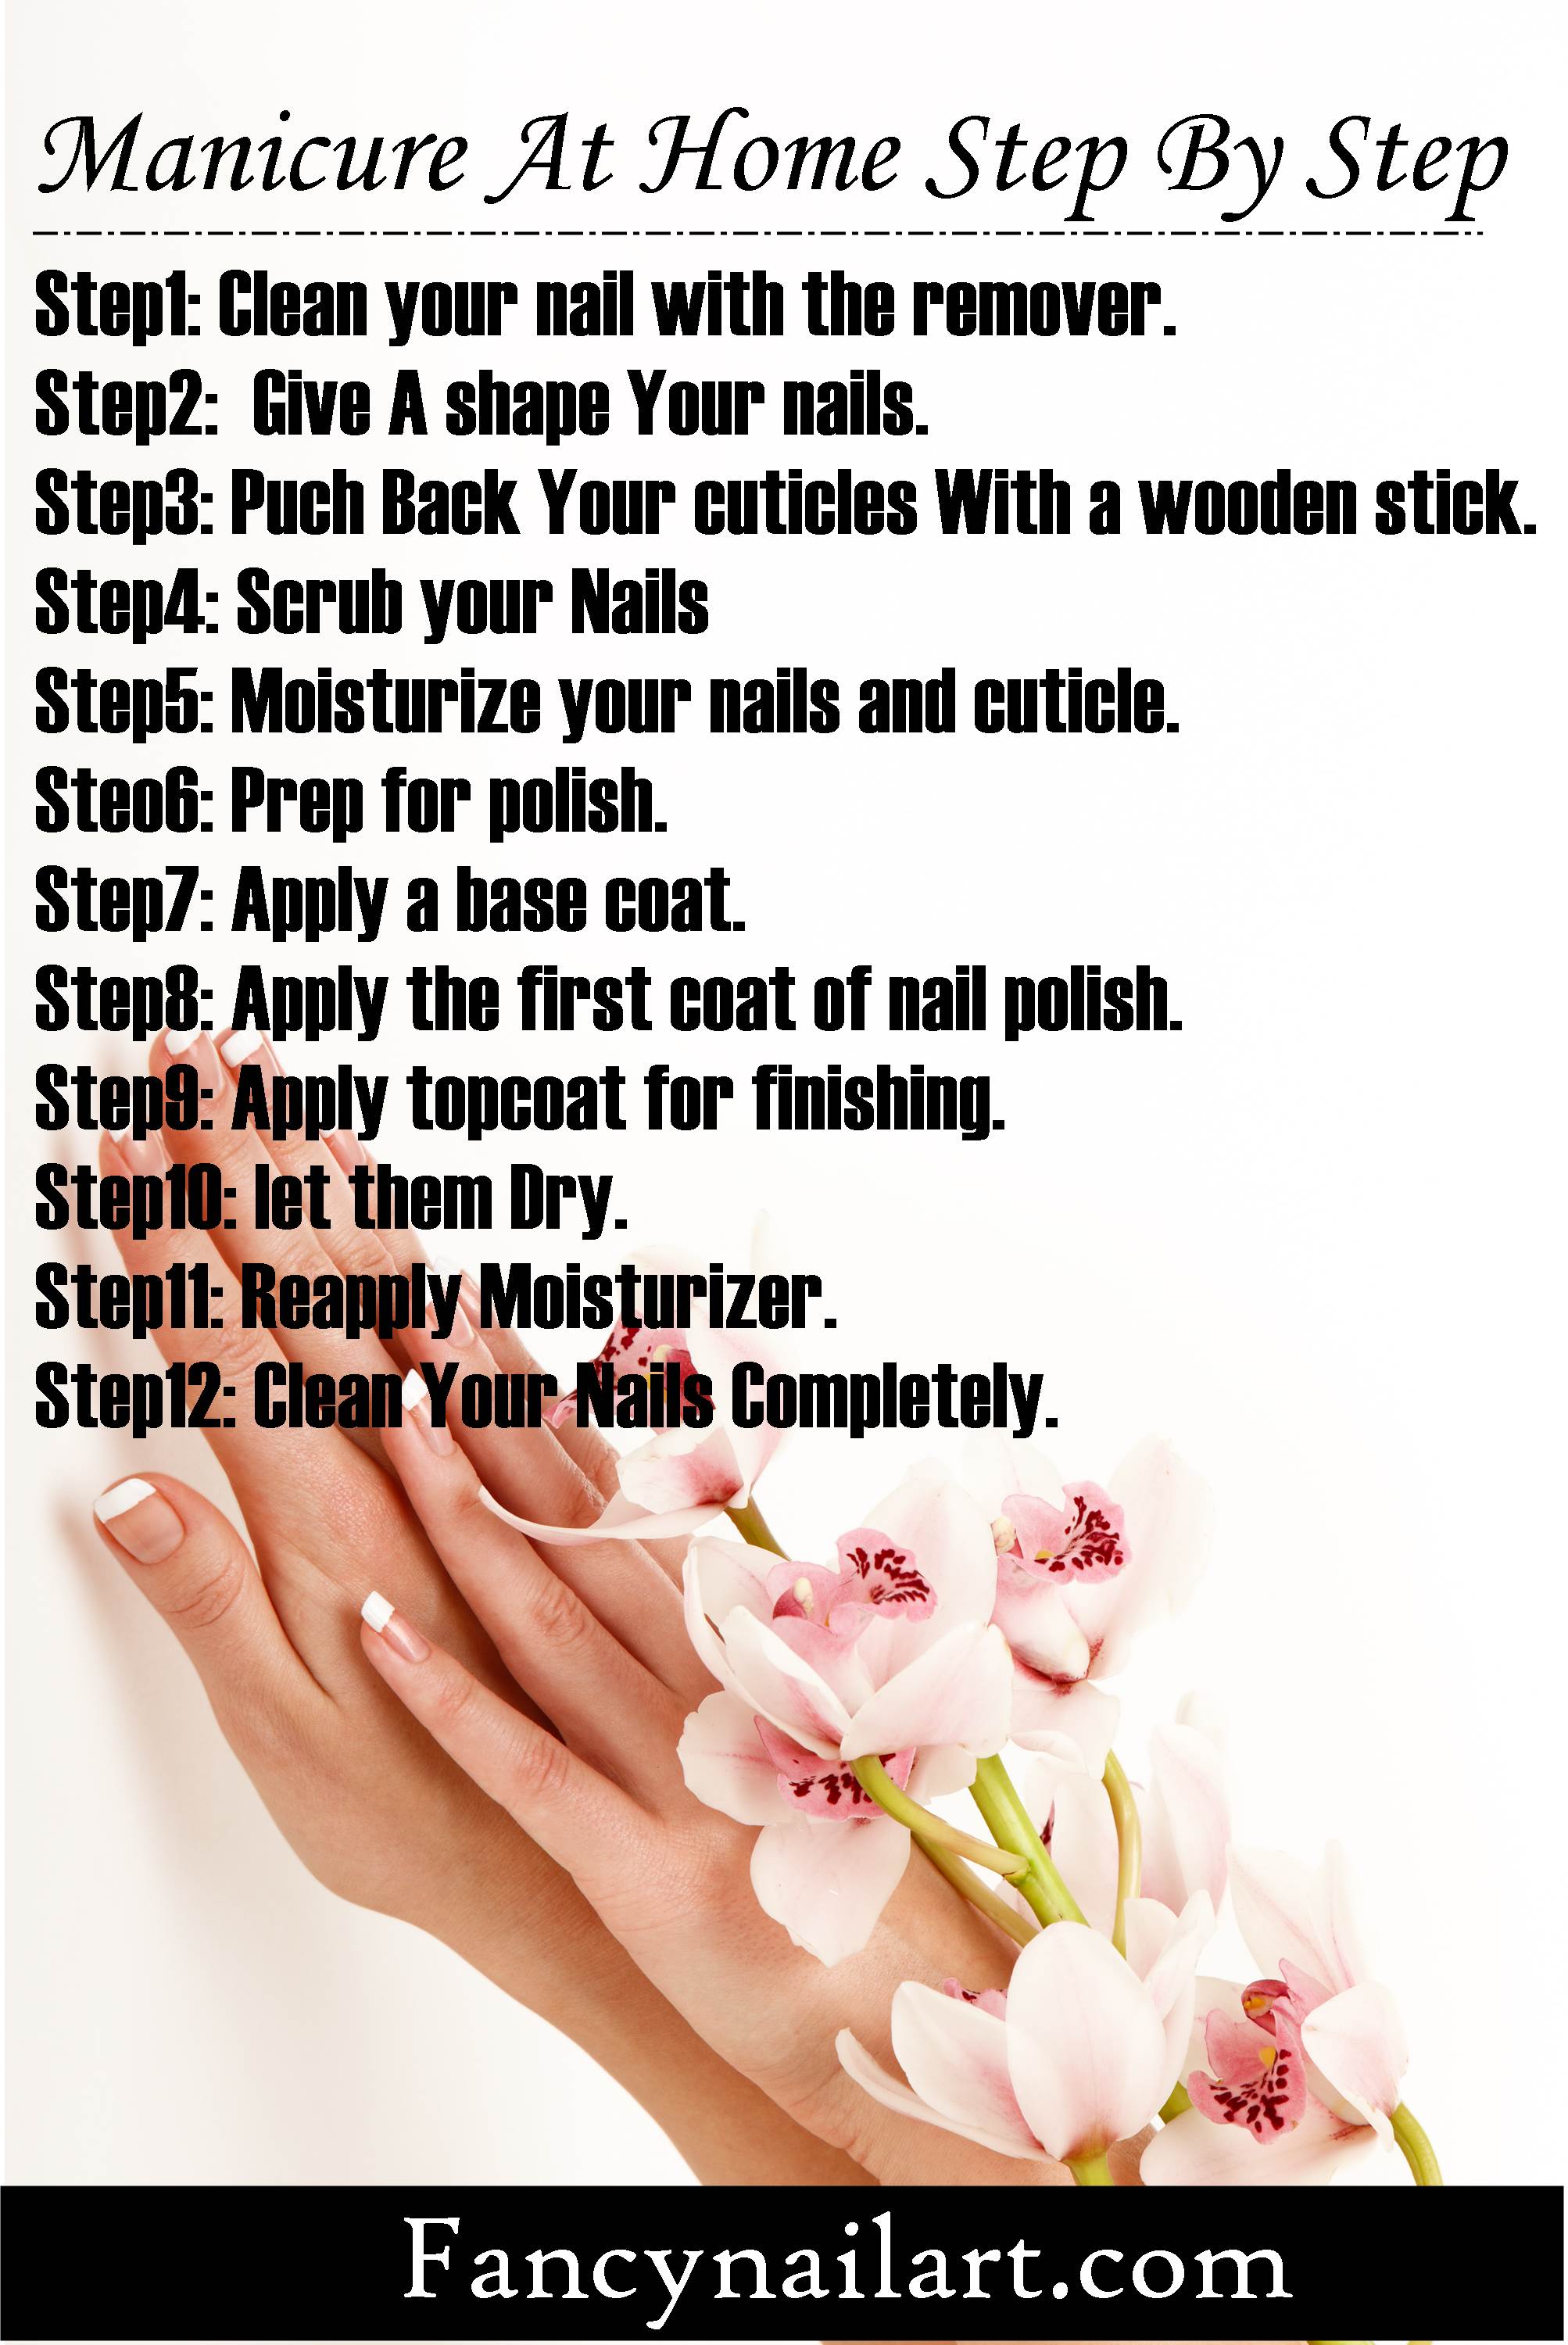
Steps Of Manicure At Home:
-
Step1: Clean your nail with the remover.
-
Step2: Give A shape Your nails.
-
Step3: Puch Back Your cuticles With a wooden stick.
-
Step4: Scrub your Nails
-
Step5: Moisturize your nails and cuticle.
-
Steo6: Prep for polish.
-
Step7: Apply a base coat.
-
Step8: Apply the first coat of nail polish.
-
Step9: Apply topcoat for finishing.
-
Step10: let them Dry.
-
Step11: Reapply Moisturizer.
-
Step12: Clean Your Nails Completely.
Step1: Clean your Nail with the Remover
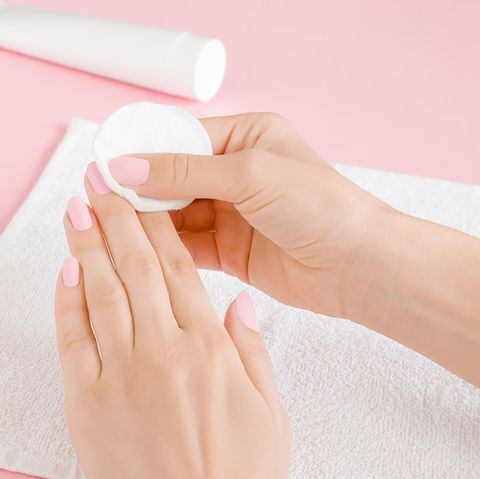
Getting a clean manicure at home first you need to clean up your nails with remover. If you don’t have nail polish remover then you may be a problem in cleaning nail polish. Read this Article and solve your problem: 3 Ways To Remove Nail Polish Without Nail Polish Remover
To start off, remove the nail polish that you are wearing. Use a non-acetone nail polish remover and cotton pads to remove your old nail polish gently.
Step2: Give A shape Your nails
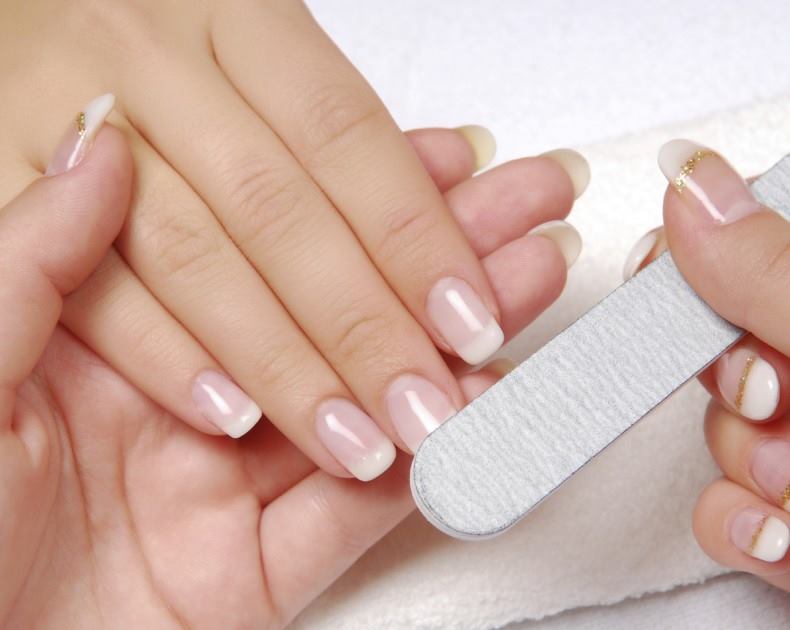
Clip your nails, if necessary, then gently file them into shape. A slightly rounded nail shape or square-rounded edge is generally the best way to go but you can be as creative as you want. Use nail clippers to trim your nails to the length you want. Longer nails are pretty but difficult to maintain. If you want shorter nails, don’t trim them to the quick.
While filing your nails, be gentle and avoid dragging the file to and fro with excessive force. Avoid filing them too short. Just smoother the lines and rough edges left behind by the nail clipper.
Step3: Push Back Your cuticles With a Wooden Stick

Each time Use a new orange stick you for push back your cuticles. And Make sure Wooden orange sticks are porous, meaning it’s difficult to completely sanitize them. It’s best to just toss out the stick after you’re finished using it so you don’t have to worry about spreading bacteria the next time you give yourself a manicure.
Step4: Scrub your Nails

Scrubbing smooth your nails and provides an even surface for your nail polish. Use the side of your buffer with the coarsest sandpaper first. Run it across the surface of your nails to smooth out the ridges. Do the same with the medium grade surface. Finish with the finest grade surface.
Don’t press too hard. You don’t want to thin out the surface of your nails.
Step5: Moisturize your Nails and Cuticle

Moisturizing the nails is the most important part of the manicure. Moisturizing your nails give you a good rest, as well as the use of soap, which makes your nails dry. This problem will also end.
Use a rich and thick cream for intense miniaturization. Focus especially on your fingers and the area around your nails. If you want, you can even soak your hands in warm water for 30 seconds before applying moisturizer.
POPULAR ARTICLES-
- Black Nail Art Ideas That Will Definitely Turn Heads
- 35 Easy Cute Nail Art Designs – Cute Nail Art Designs
- Nail Brush – 9 Types Of Nail Art Brushes And How To Use Them
Step6: Prep for Polish
If there’s too much moisturizer on your nail, Nail polish will not stick to your nail. First, you need to wipe it off. Take a cotton pad or a Q-tip and apply a bit of nail polish remover to it and wipe your nails with it.
The most important part of this step is to be sure the nail has absolutely nothing oily or emollient left on it.
Step7: Apply a Base Coat
Now Use a transparent nail polish as a base coat. You can even use white nail polish as a base coat to make the color of your nail polish pop. This prevents your nails from getting stained. Also, a base coat helps the nail polish last longer.
Step8: Apply the First Coat of Nail Polish
Before applying the nail polish, roll the bottle between your hands. Avoid shaking it because that will create air bubbles in it and make it difficult for it to stick to your nails. Once the base coat is dry, apply your color polish in layers, allowing each layer to dry between coats.
Before applying another layer, let the previous layer dry.
Two coats of color polish followed by a top coat to add gloss should do the trick.
Step9: Apply Topcoat For Finishing
Apply the topcoat in a thin layer and seal the tip of the nail for ideal protection. Keeping it off the skin is always a win since contact with your skin makes everything more likely to peel off. With a strong top-coat, your manicure is sure to achieve peak performance.
Step10: Let them Dry
It can take 20-60 minutes for nail polish to dry completely. If you want to speed up the process, you can paint quick-drying polish in thin layers and try using drying spray. In addition, you can try using a blowdryer, cooking spray, or ice water.
Step11: Reapply Moisturizer
Moisturizing the nails is the most important part of the manicure. Moisturizing your nails give you a good rest, as well as the use of soap, which makes your nails dry. This problem will also end.
Step12: Clean Your Nails Completely
Now clean your hands completely.
All right!! So these are some Manicure tips at home. I hope you liked today’s blog. If You have any questions about nails related comment below and ask…
Also, like my blog and subscribe to for new blog updates. Also, follow me on INSTAGRAM. For new updates.
THANK YOU FOR READING MY ARTICLE… LUV YOU AND BYEE 


Waaaooo… Nice tips
Thank u so much for your hardwork
thanks dear